Hello all fellow English Boarders, it’s your current webmaster Whitney here.
I am happy to include a special guest post by Claire from English Boardom. In this post, Claire will be sharing some pictures that will do a lot of speaking for the hard work she’s put in to her English boards. Without further ado…

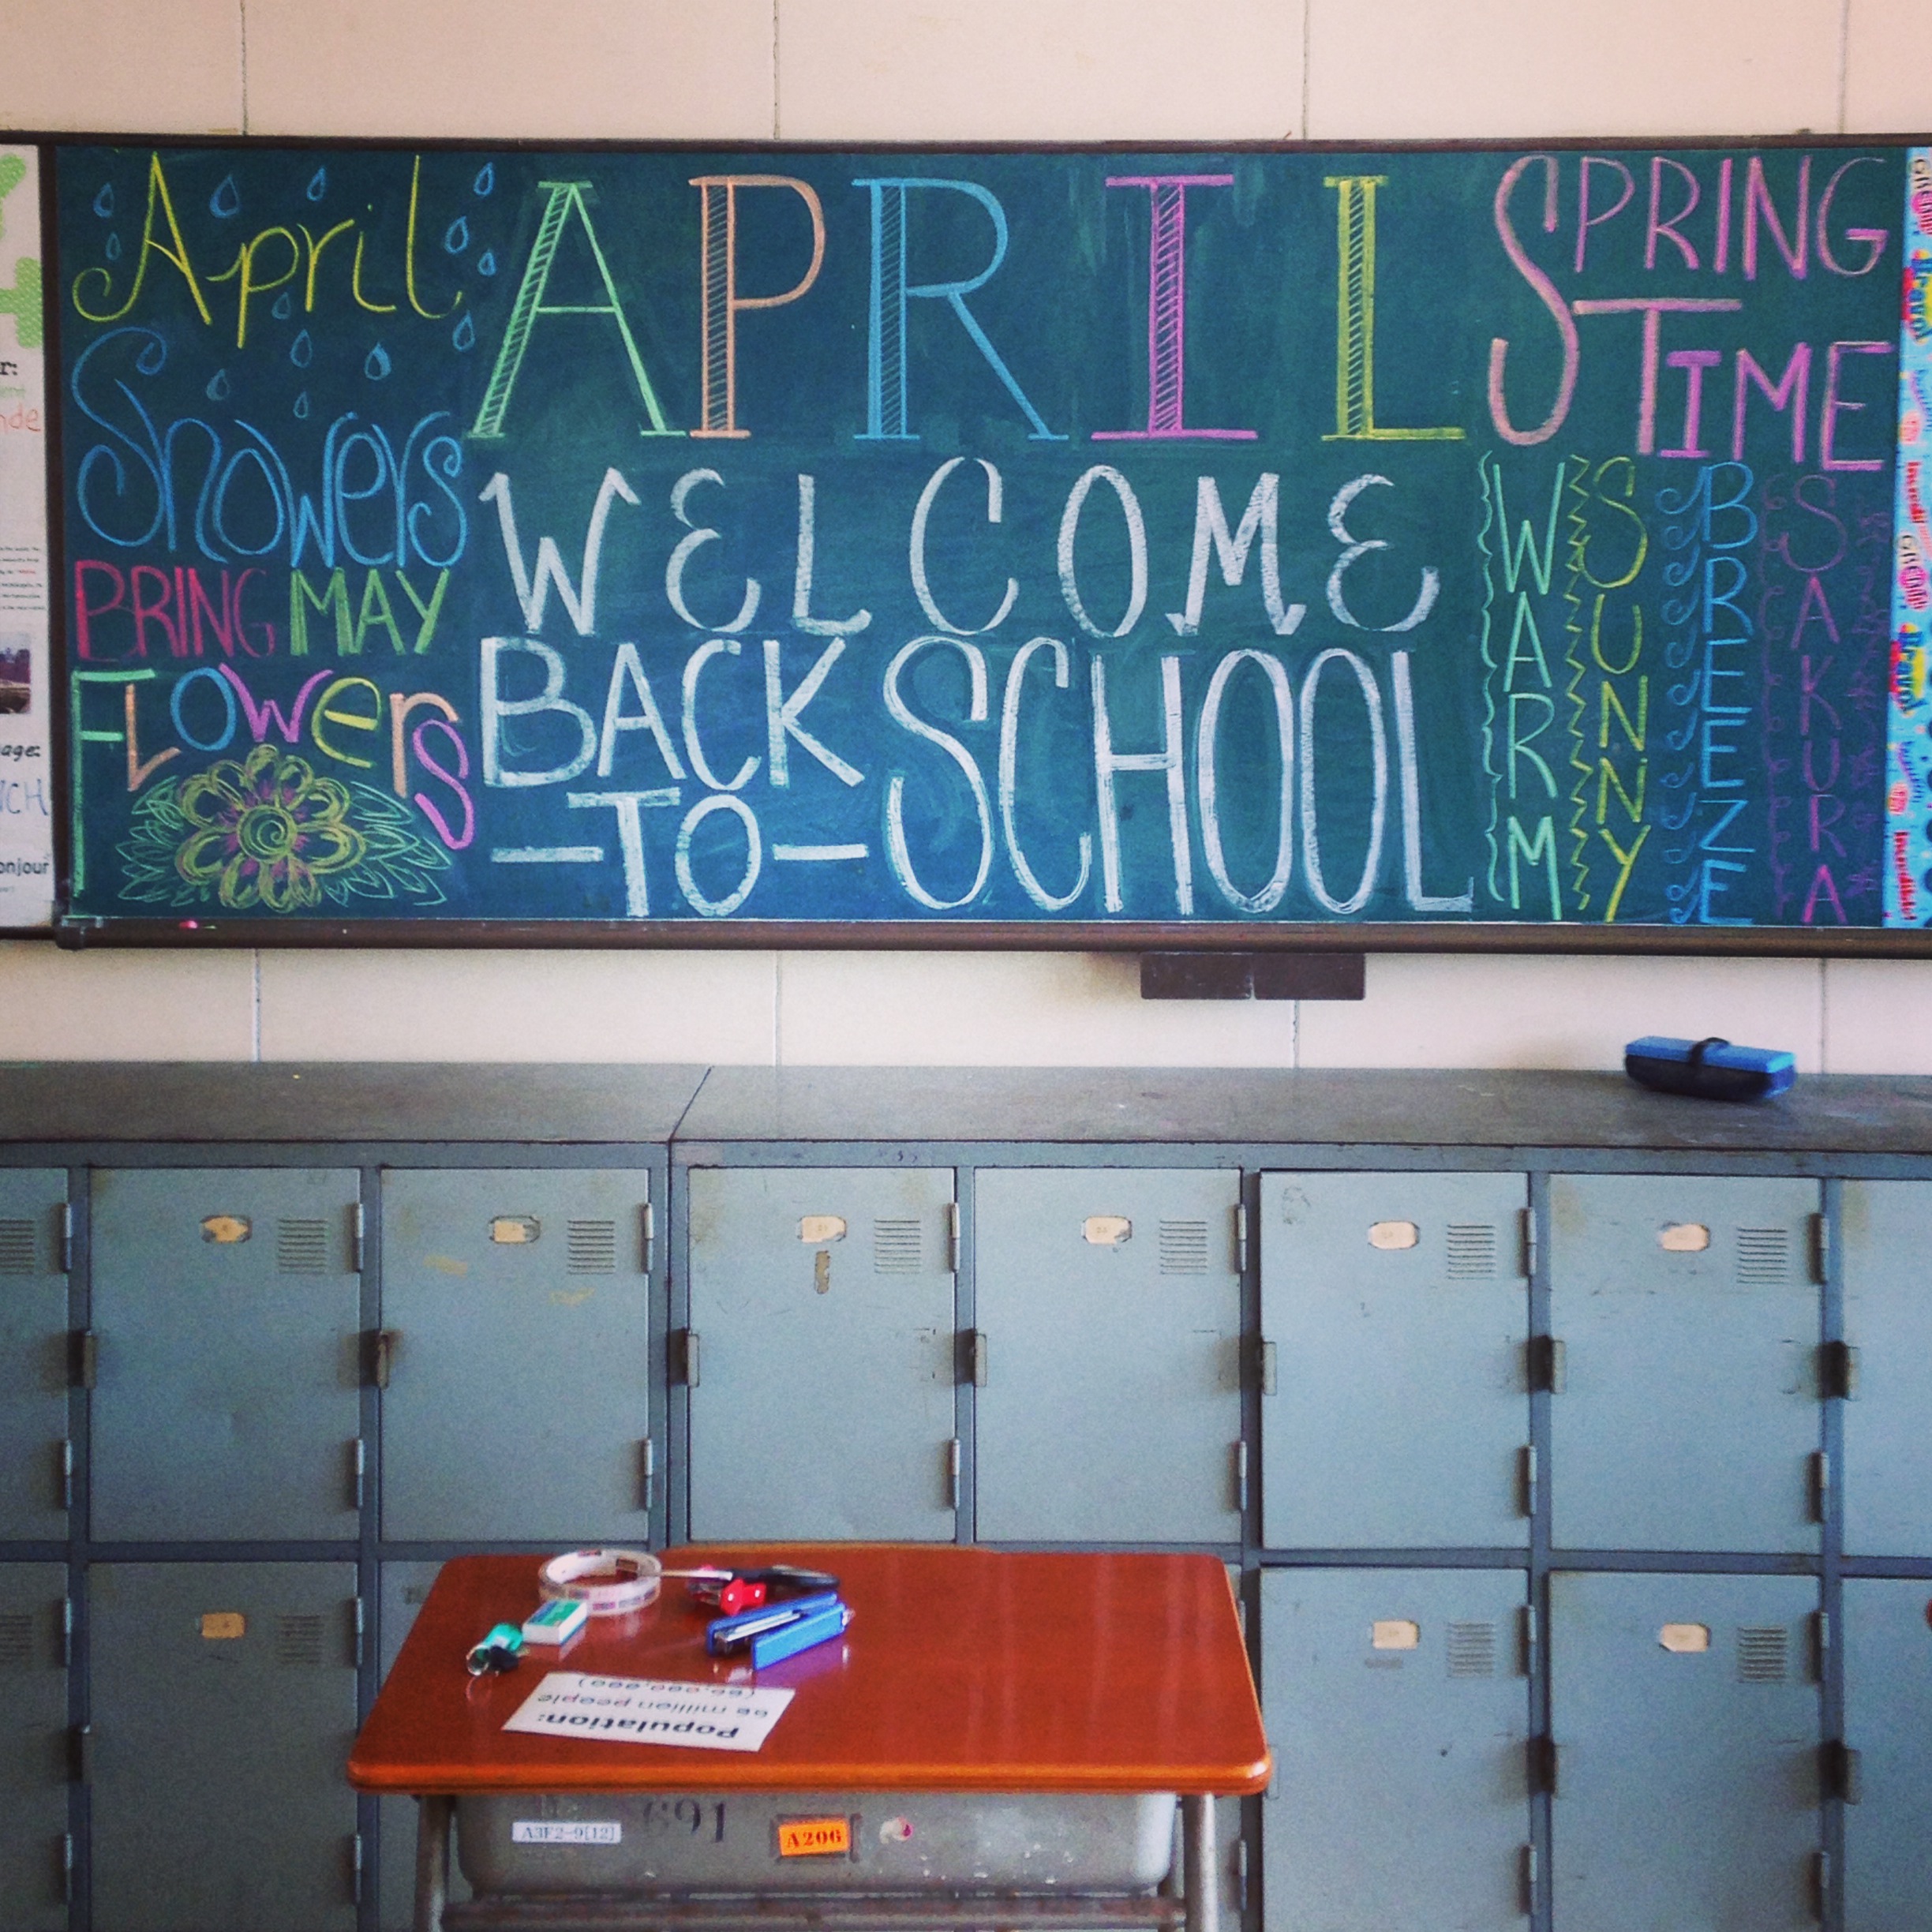
“Every month I do a different chalk art. I incorporate the name of the month and any relevant holiday or seasonal themes. I like to experiment with fonts, colors, and sizes. On the chalkboard is also a section for TODAYS DATE. I always write the date before the start of my classes. Students have to write the date, in English, on all of their worksheets. By writing the date on the English board (in the back of the classroom) I encourage (read: manipulate) the students to look behind them at the board during each class. This way, they are always looking at the English board. I do this to remind them it is there and encourage them to read it!
If you’d like to try your hand at chalk art, I recommend The Scrap Shoppe. I also use dafont.com, which lets you type in words and look at the different fonts.


Every week we have new Words of the Week. Each week there is a new verb, adjective, and noun. If possible, I try to make the words relate to the current week’s lessons. For example, for the telephone lesson I use words like “message” and “answer”. For the Verb of the Week, I like to have three example sentences using different tenses and different subjects. The board also shows the conjugation of the verb including the past participle.
Next to each word (written in crafty font) is a piece of paper folded in half. On the front half is the English definition of the word. If students lift the flap they will find the Japanese definition of the word. This helps students understand the new word and actually requires them to *TOUCH* the board. This increases interaction.

The words are introduced by monthly “characters”. I like to make paper characters that are seasonally appropriate. These “kawaii” creatures have speech bubbles with example sentences using each word.

Each month we have a new Country of the Month. I always include pictures of popular sights in that country, the country’s flag, and sometimes a little cartoon drawing. Included in this section are simple facts about the country such as population size, capital city, continent, leader, and language. Short write ups about the country and the popular sights are interesting for students. I typically highlight important text in red. On this section of the board is a map. Each country gets highlighted on the map. Students seem to find this section the most interesting (it has pictures!) and European countries are the most popular. Still, it’s important to have a diverse representation of different countries (I need to include some African countries!). If space allows, I also like to have a note teaching the students how to say “Hello” in that country’s language.
I only change the country once a month, so this gives me plenty of time to prepare new information. It’s easy to print out a bunch of “CONTINENT” or “CAPITAL CITY” sheets and write the new country’s information when I have time in between classes.
Then we have Famous Person (of the month). Initially I meant to change this section twice a month to incorporate current event characters. I like to pick people who students will recognize without focusing on celebrities (no Katy Perry here!). Famous people of the past include Nelson Mandela and Caroline Kennedy. This section is simple and includes a very short bio about the famous person, a few pictures, and a flashy name tag.
This section can easily be changed out for special features, such as the 2014 Olympics Section which featured facts about Sochi and Japanese Athletes. I found toy gold medals in my desk (thanks mystery pred!) and hung those on the board as well. The students like shiny things!


And finally, the highlight of the board, The Song of the Week!!! This section is my favorite and the most engaging. I pick popular English songs that students recognize and attract their attention with creative signage and a picture of the album cover. Students can take a copy of the lyrics. The lyrics are printed in two columns on one piece of paper, in English and Japanese. I always fold the paper in half and put the lyrics in the envelope with the English side facing out. Students can also take a “rip tag”. This tag has the URL for a YouTube video of the song. I pick lyric videos, usually fan created, because they emphasize the English aspect; in this way I can also avoid inappropriate music videos (thanks Katy Perry!). On the board is an illustrated set of directions showing students how to rip a tag and encouraging them to go to the Youtube website. Students can listen to the song while reading the lyrics (in English or Japanese). I always draw attention to this section at the beginning of class. It gets updated every week!
This website has dozens of popular songs with Japanese translations. I’m convinced that it’s run by some board 😉 ALT in the inaka. Either way, whoever they are, they are my hero. Their translations even include explanations of certain slang phrases! Just type a song title into the search bar – it’s probably there! Then all you have to do is cut and paste and print and fold!
Feel free to use this template for your boards! Song Example
The Song of the Week is a great activity for ESS Club. Students can listen to the song and read the lyrics or practice singing (if your club members are so inclined). I like to print out strips of the lyrics, cut them up, and then have students listen and put the lyrics in order. This is a big hit and it allows me to go over different vocabulary for each song! We’ve done almost every song of the Frozen soundtrack this way. And yes, I DO want to build a snowman!”
Thank you Claire! If you enjoyed this post, please check out her website!


