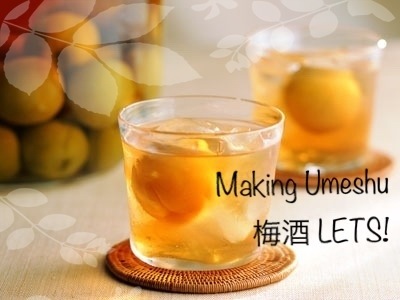
Making Umeshu 梅酒 LETS!
Long before I stepped foot on the shores of Japan I had an ongoing fascination with the sweet boozy nectar that is umeshu梅酒, a traditional Japanese spirit of which the primary ingredient is green ume é’梅. All too often mistranslated as ‘plum wine’, both these words are more or less lost in translation. Ume are in fact not plums at all but a variety of Japanese apricot, and since the average umeshu tends to be about 40%+ alcohol, it’s closer to hard liquor than wine!!
In Australia I often drank shouchuu 焼酎 (the liquor ingredient of the umeshu) in place of vodka simply because it was so very, very cheap. Here in Japan though, liquor prices seem to be between ¼-⅓ of those in Australia (depending on your poison of choice) which has really given me the freedom to drink whatever I like – I can afford it! Needless to say, making umeshu was on my Japan bucket list.
So the basics of any umeshu: You’re going to need 5 things, and with a standard batch these are the ratios you will be need –
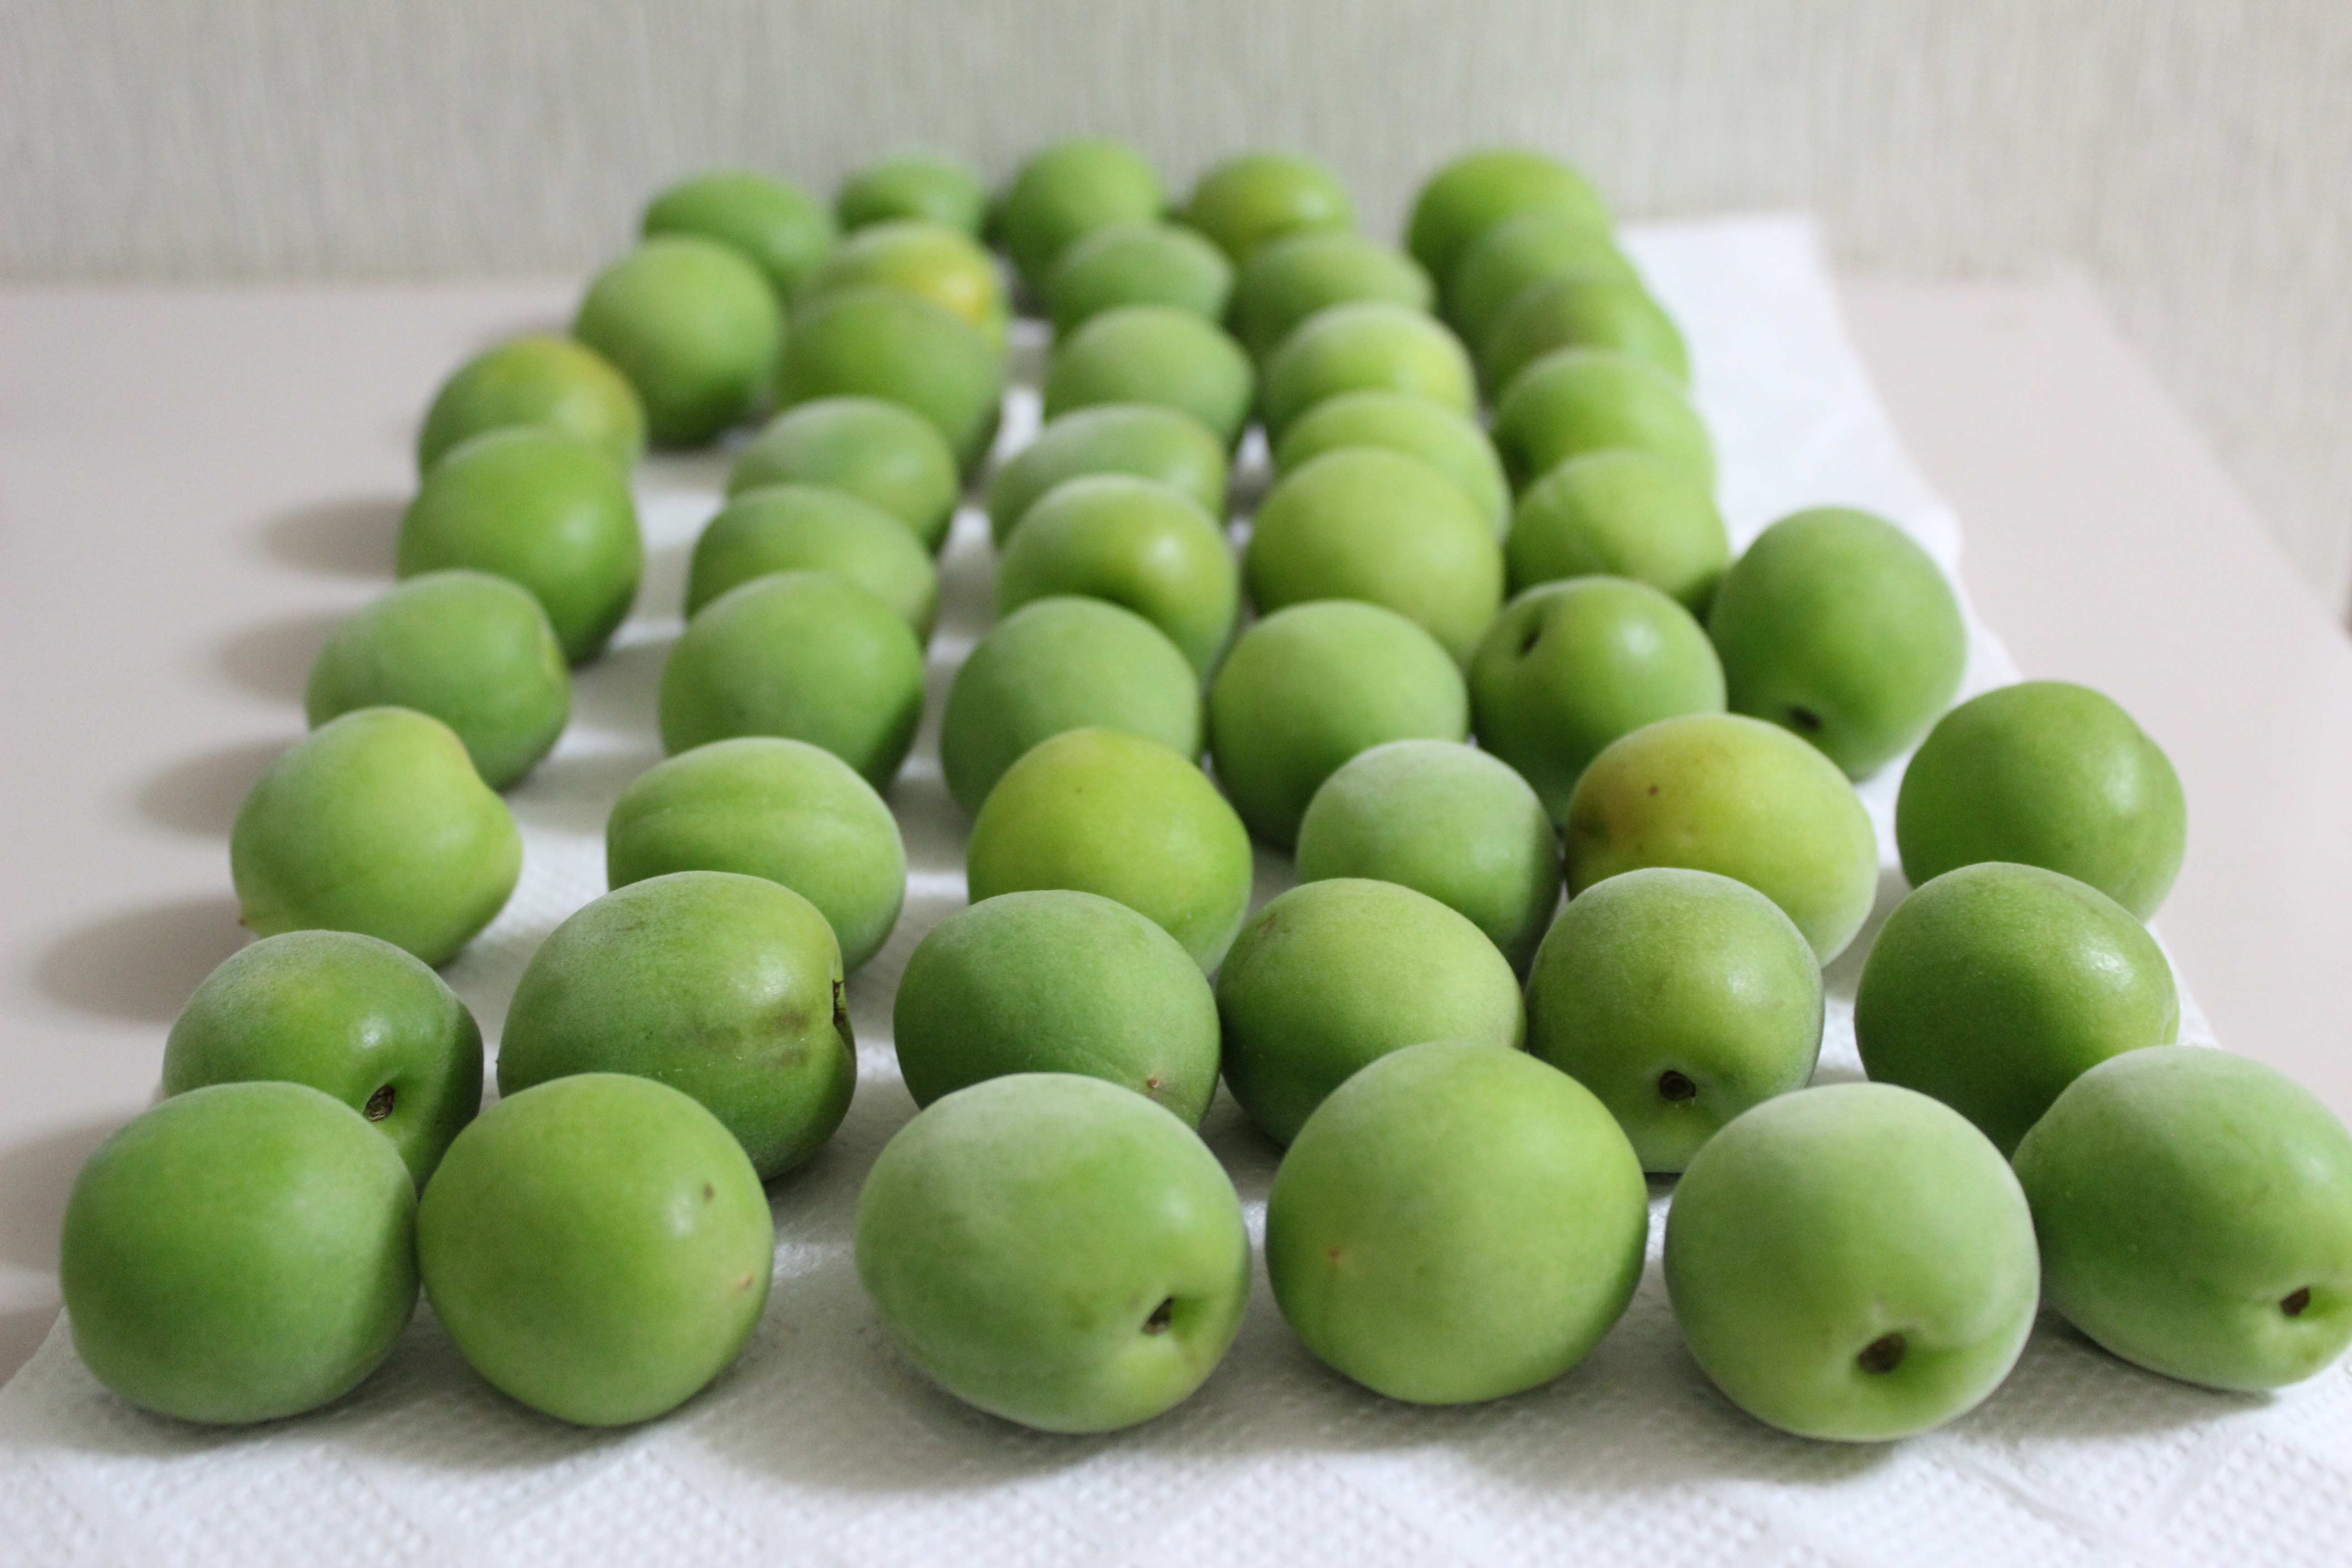
 1kg of fresh unripened ume (ao-ume é’梅)
I went for the slightly larger variety of what was on offer at my supermarket as apparently the smaller ones tend to be on the sour side of things.
1kg rock sugar
You can use brown rock sugar if that floats your boat.
1.8 Litres of White Liquor (焼酎)
This stuff is sold in huge milk carton type containers and is 70 proof liquor that resembles shochuu. Some people choose to omit this ingredient and use brandy instead as it gives the umeshu a sweeter flavour. Personally I’m not a huge fan of brandy to begin with and since your white liquor is only going to set you back around 1200-1300円 for the whole carton, not using it is sure to bump up the cost of your brew.
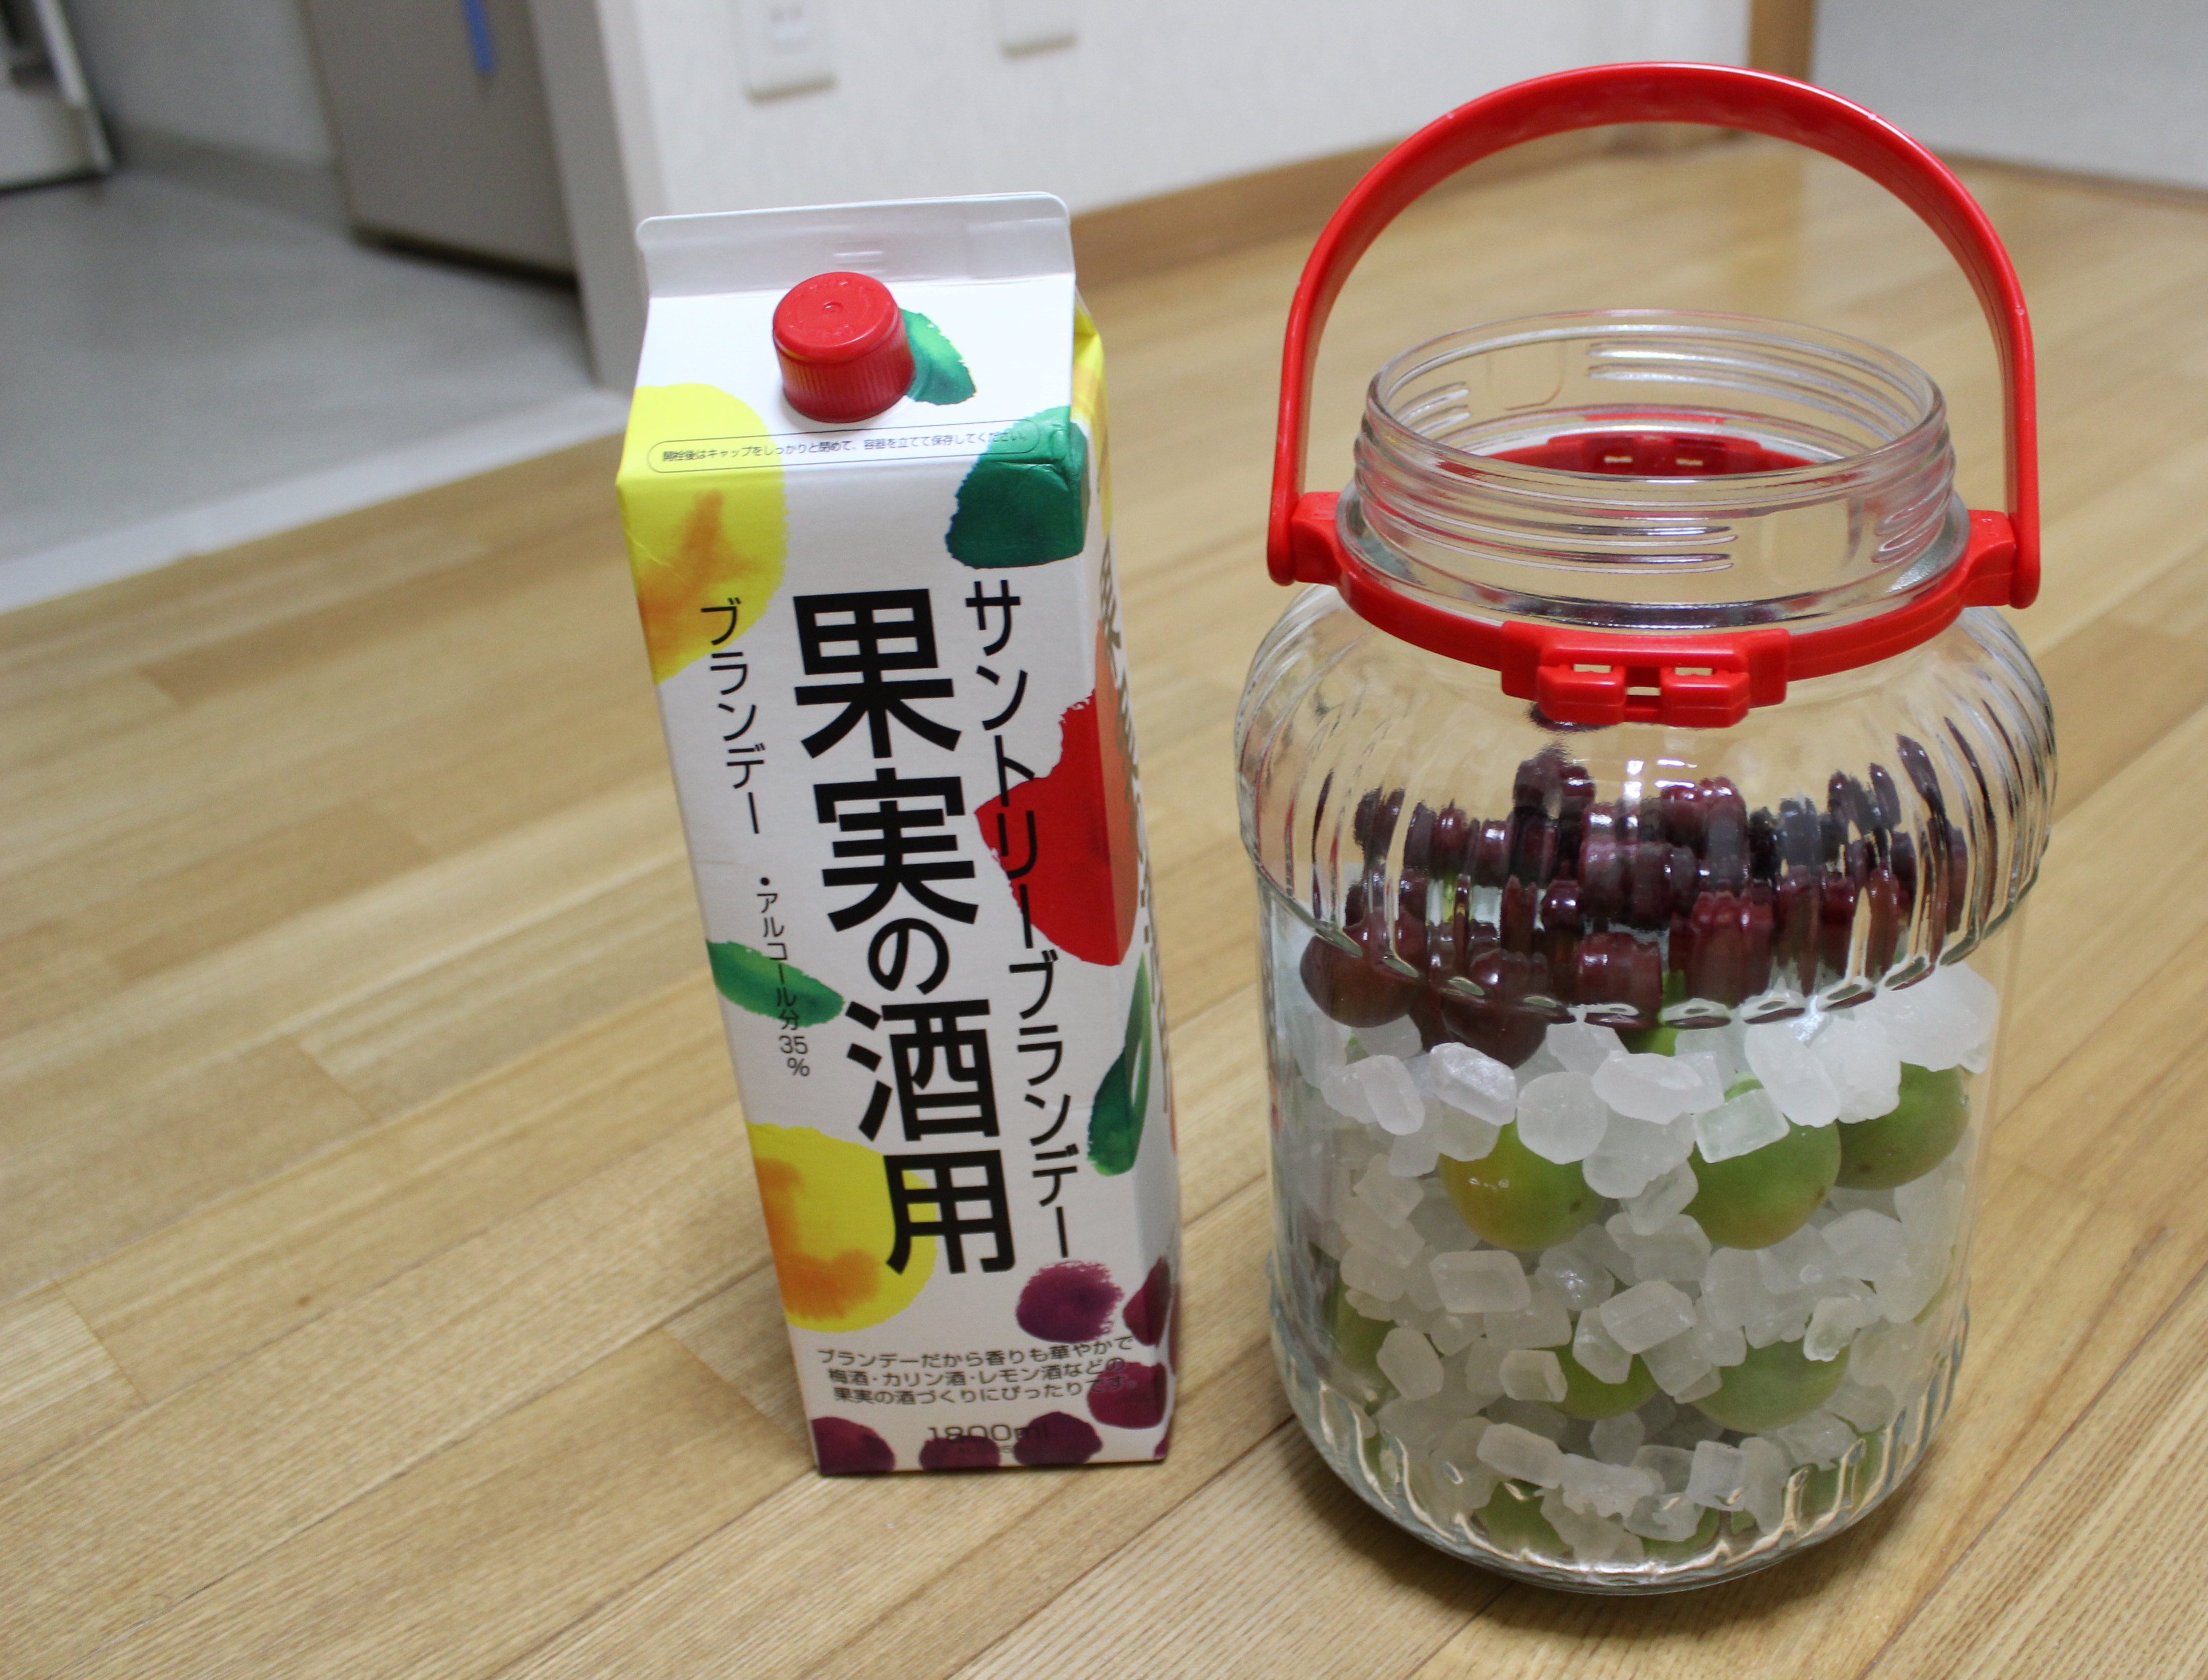 A large glass jar (preferably 4-5l) with a double seal
If, like me, you happen to find yourself living in Japan, procuring such a jar will be of little trouble as they sell specially made umeshu double sealed glass jars in the supermarkets with the other ingredients. If not, well you’re not out of luck. Basically, you’re looking for a large thick glass jar that can be sealed tightly as its contents may sit in there for years!
Toothpicks (Tsumayouji 爪楊æž)
Or preferably bamboo skewers, these are used to remove any remaining stems from your ume to make them 100% clean and poke holes in them before you subject them to a year’s worth of deliciousification.
A friend of mine, a 3rd year JET who has been making umeshu since he arrived, strongly recommended a variation to the traditional recipe which he claims to be the most delicious beverage he has ever tasted. So rather than going down the straight and narrow I took his advice and my chances and decided to make a cherry brandy umeshu.
To take it up a level you’re going to need –
200 grams of fresh cherries
100-200mls of Brandy (add as much as you like depending on how much you like brandy)
So now I presume you have obtained all the components for your brew – good job, you’re awesome! Now onto how exactly you go about turning these unappetizing ingredients into the nectar of the gods!
1. Clean the glass jar thoroughly, if you can get your hands on the heatproof variety, boiling water will do the trick. Make sure it is 100% dry before you add any ingredients.
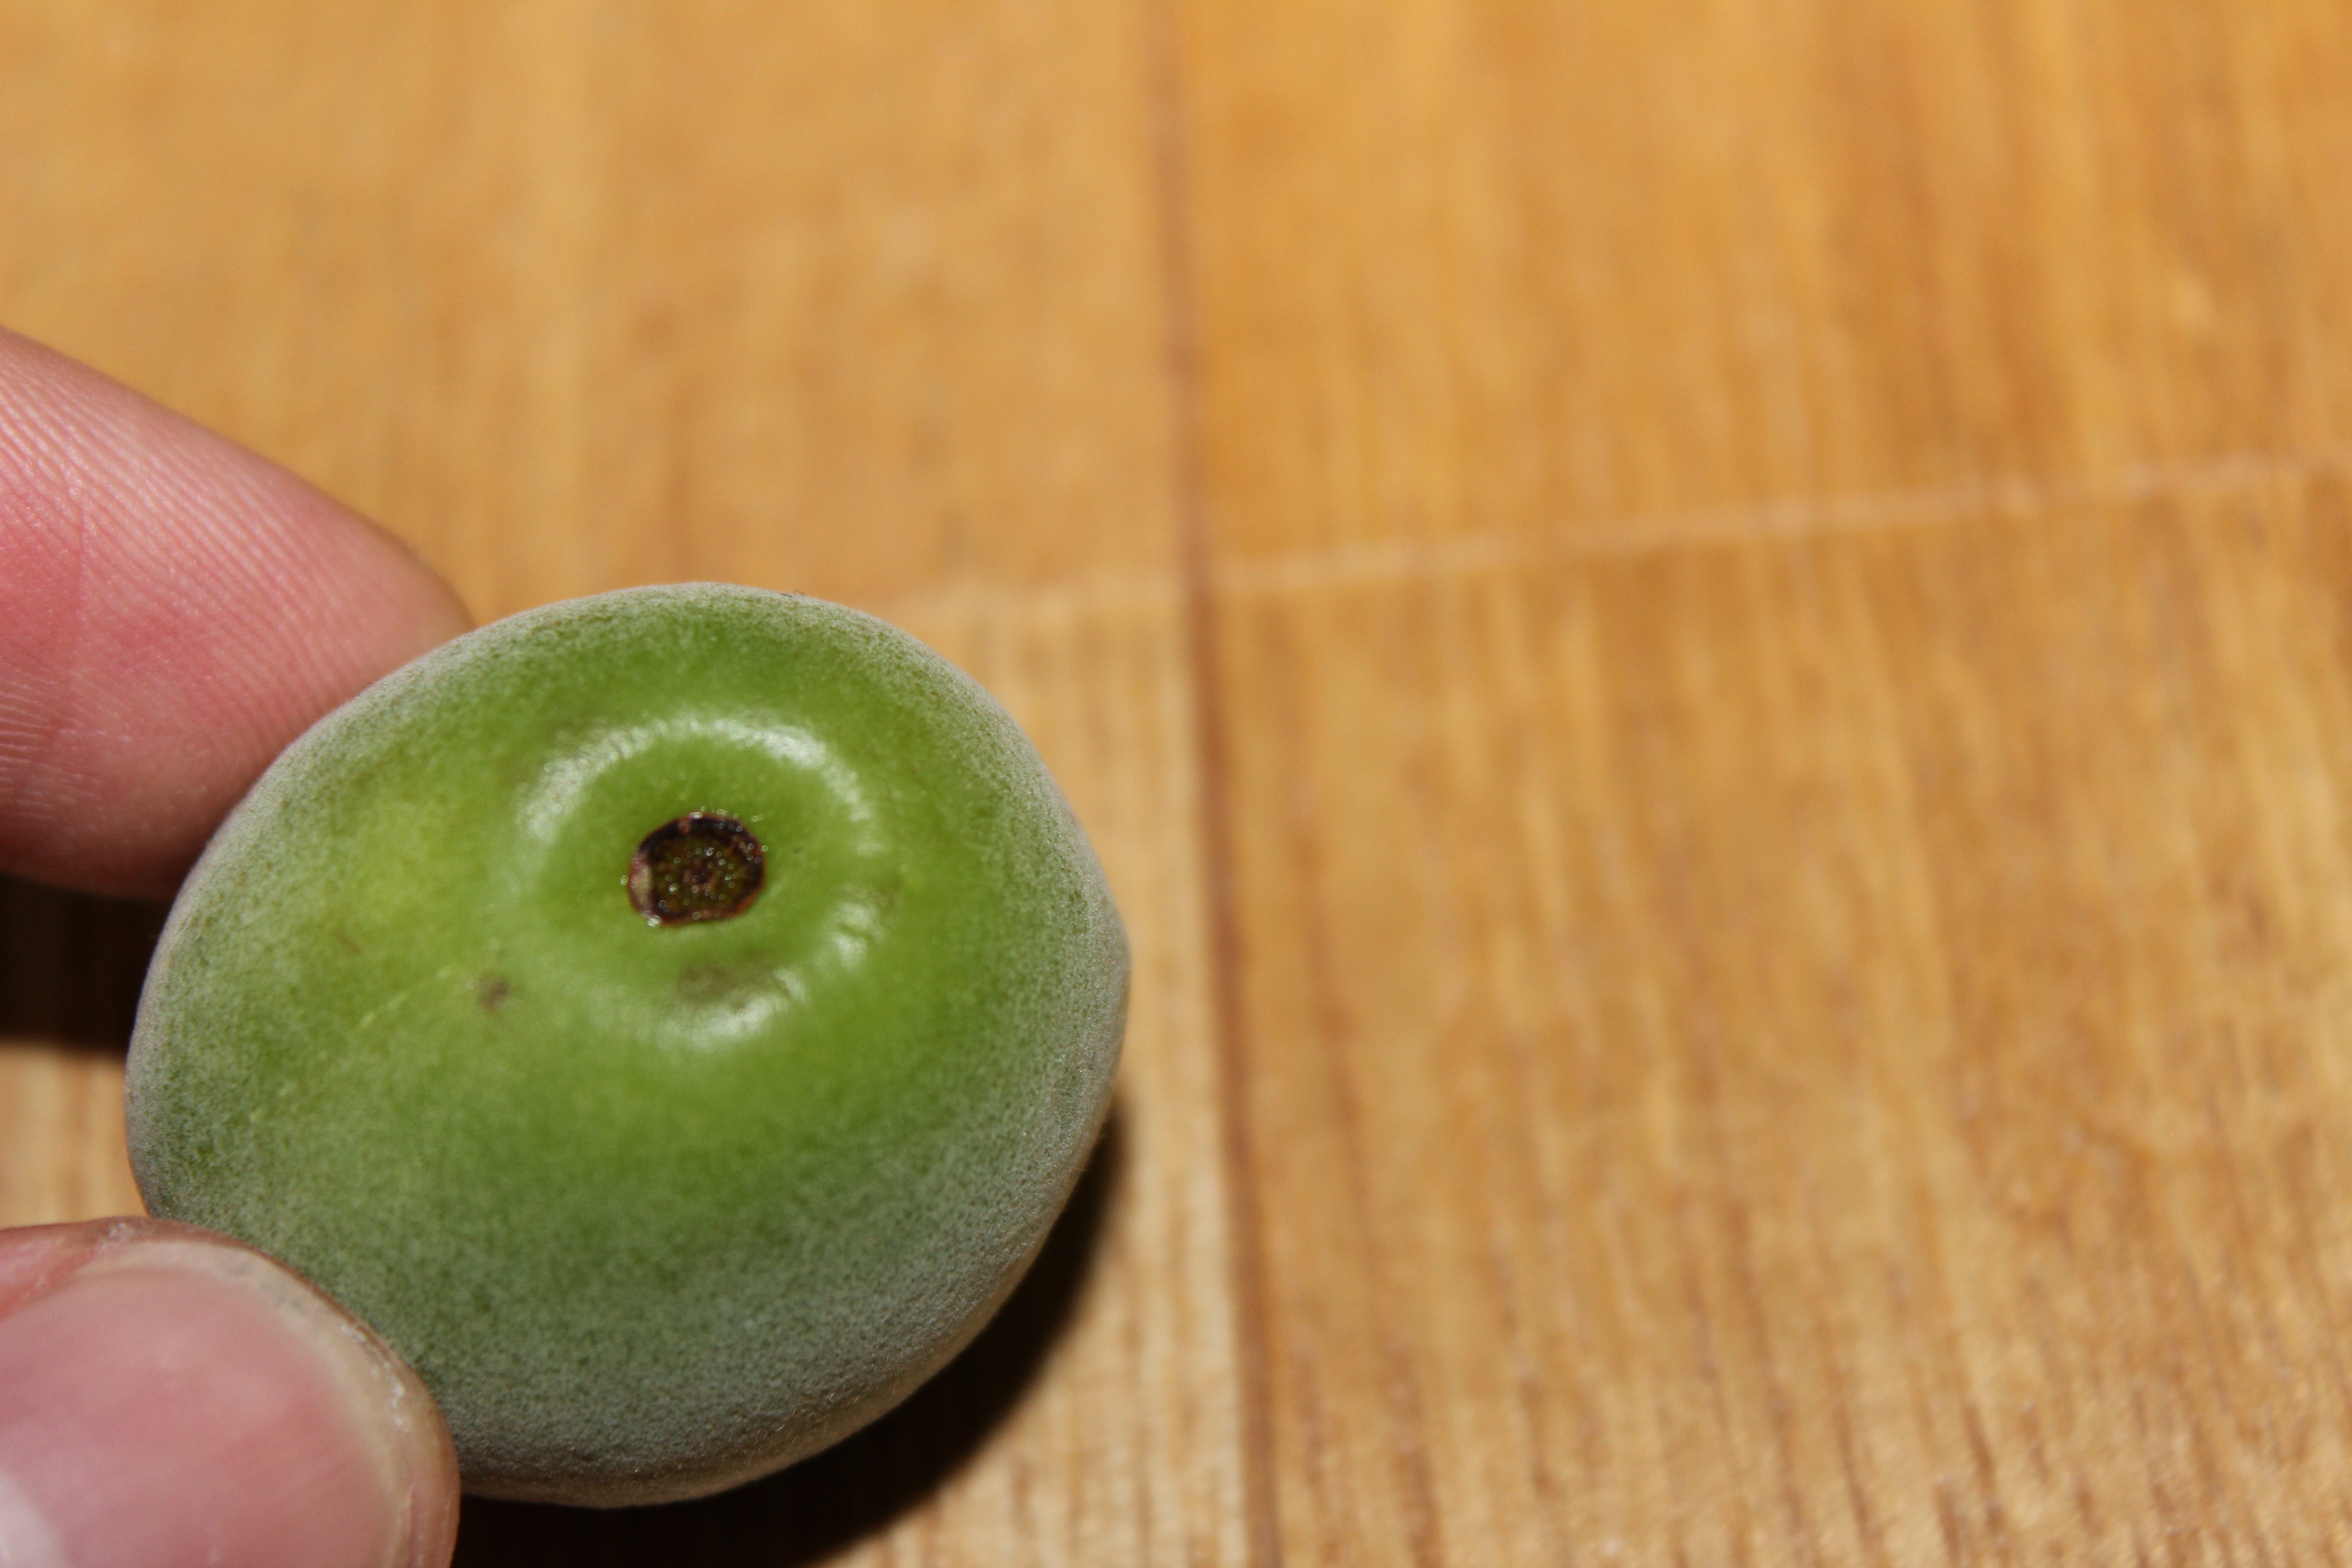
2.Wash and de-stem your ume, ensuring that they are well washed and dry before you put them into the jar. As even a small amount of residual water can cause the fruit to go mouldy under the liquor, I recommend patting them down with a paper towel then letting them air dry for a couple hours before moving to the next step. You will also want to spot check each and every ume for blemishes, removing any that have bruises or broken skin.
 3. Layer you’re ume and rock sugar in the jar, if you like you can also prick small holes in the ume with a toothpick before you send them to their boozy graves (2 or 3 per ume). This step is not essential but will help the liquor permeate the ume and speed up the process. Also the whole layering process is pretty much just for aesthetics and completely up to you, as after 24 hours the bulk of your sugar is going to have dissolved and the ume will have floated to the top anyway. I chose to because 1, it is fun and 2, it looks cool =P
4. Pour in the 1.8 litre carton of white liquor, if you are comfortable with the wrist tilting action frequently used to add milk to a cup of coffee then I’m sure you will have this step down.
5. Adding in additional flavours to personalize your brew. So here is the extra step that I did but is completely up to you, basically there is a plethora of extra ingredients you can add to your umeshu. I simply just cleaned 200 grams of cherries in the same fashion as the ume and added them along with about 200ml of a nice brandy. If cherries and brandy aren’t your thing a couple of the other variations I’ve heard of include garlic, strawberries or grapes in place of the cherries and alongside this you could also use any kind of spirit in place of the brandy. From what I gather gin or vodka will give you a harsher end product where sweet brandy/bourbon/whisky will make it even more so sweet and delicious (I was considering Canadian club or Drambuie before I settled on Brandy).
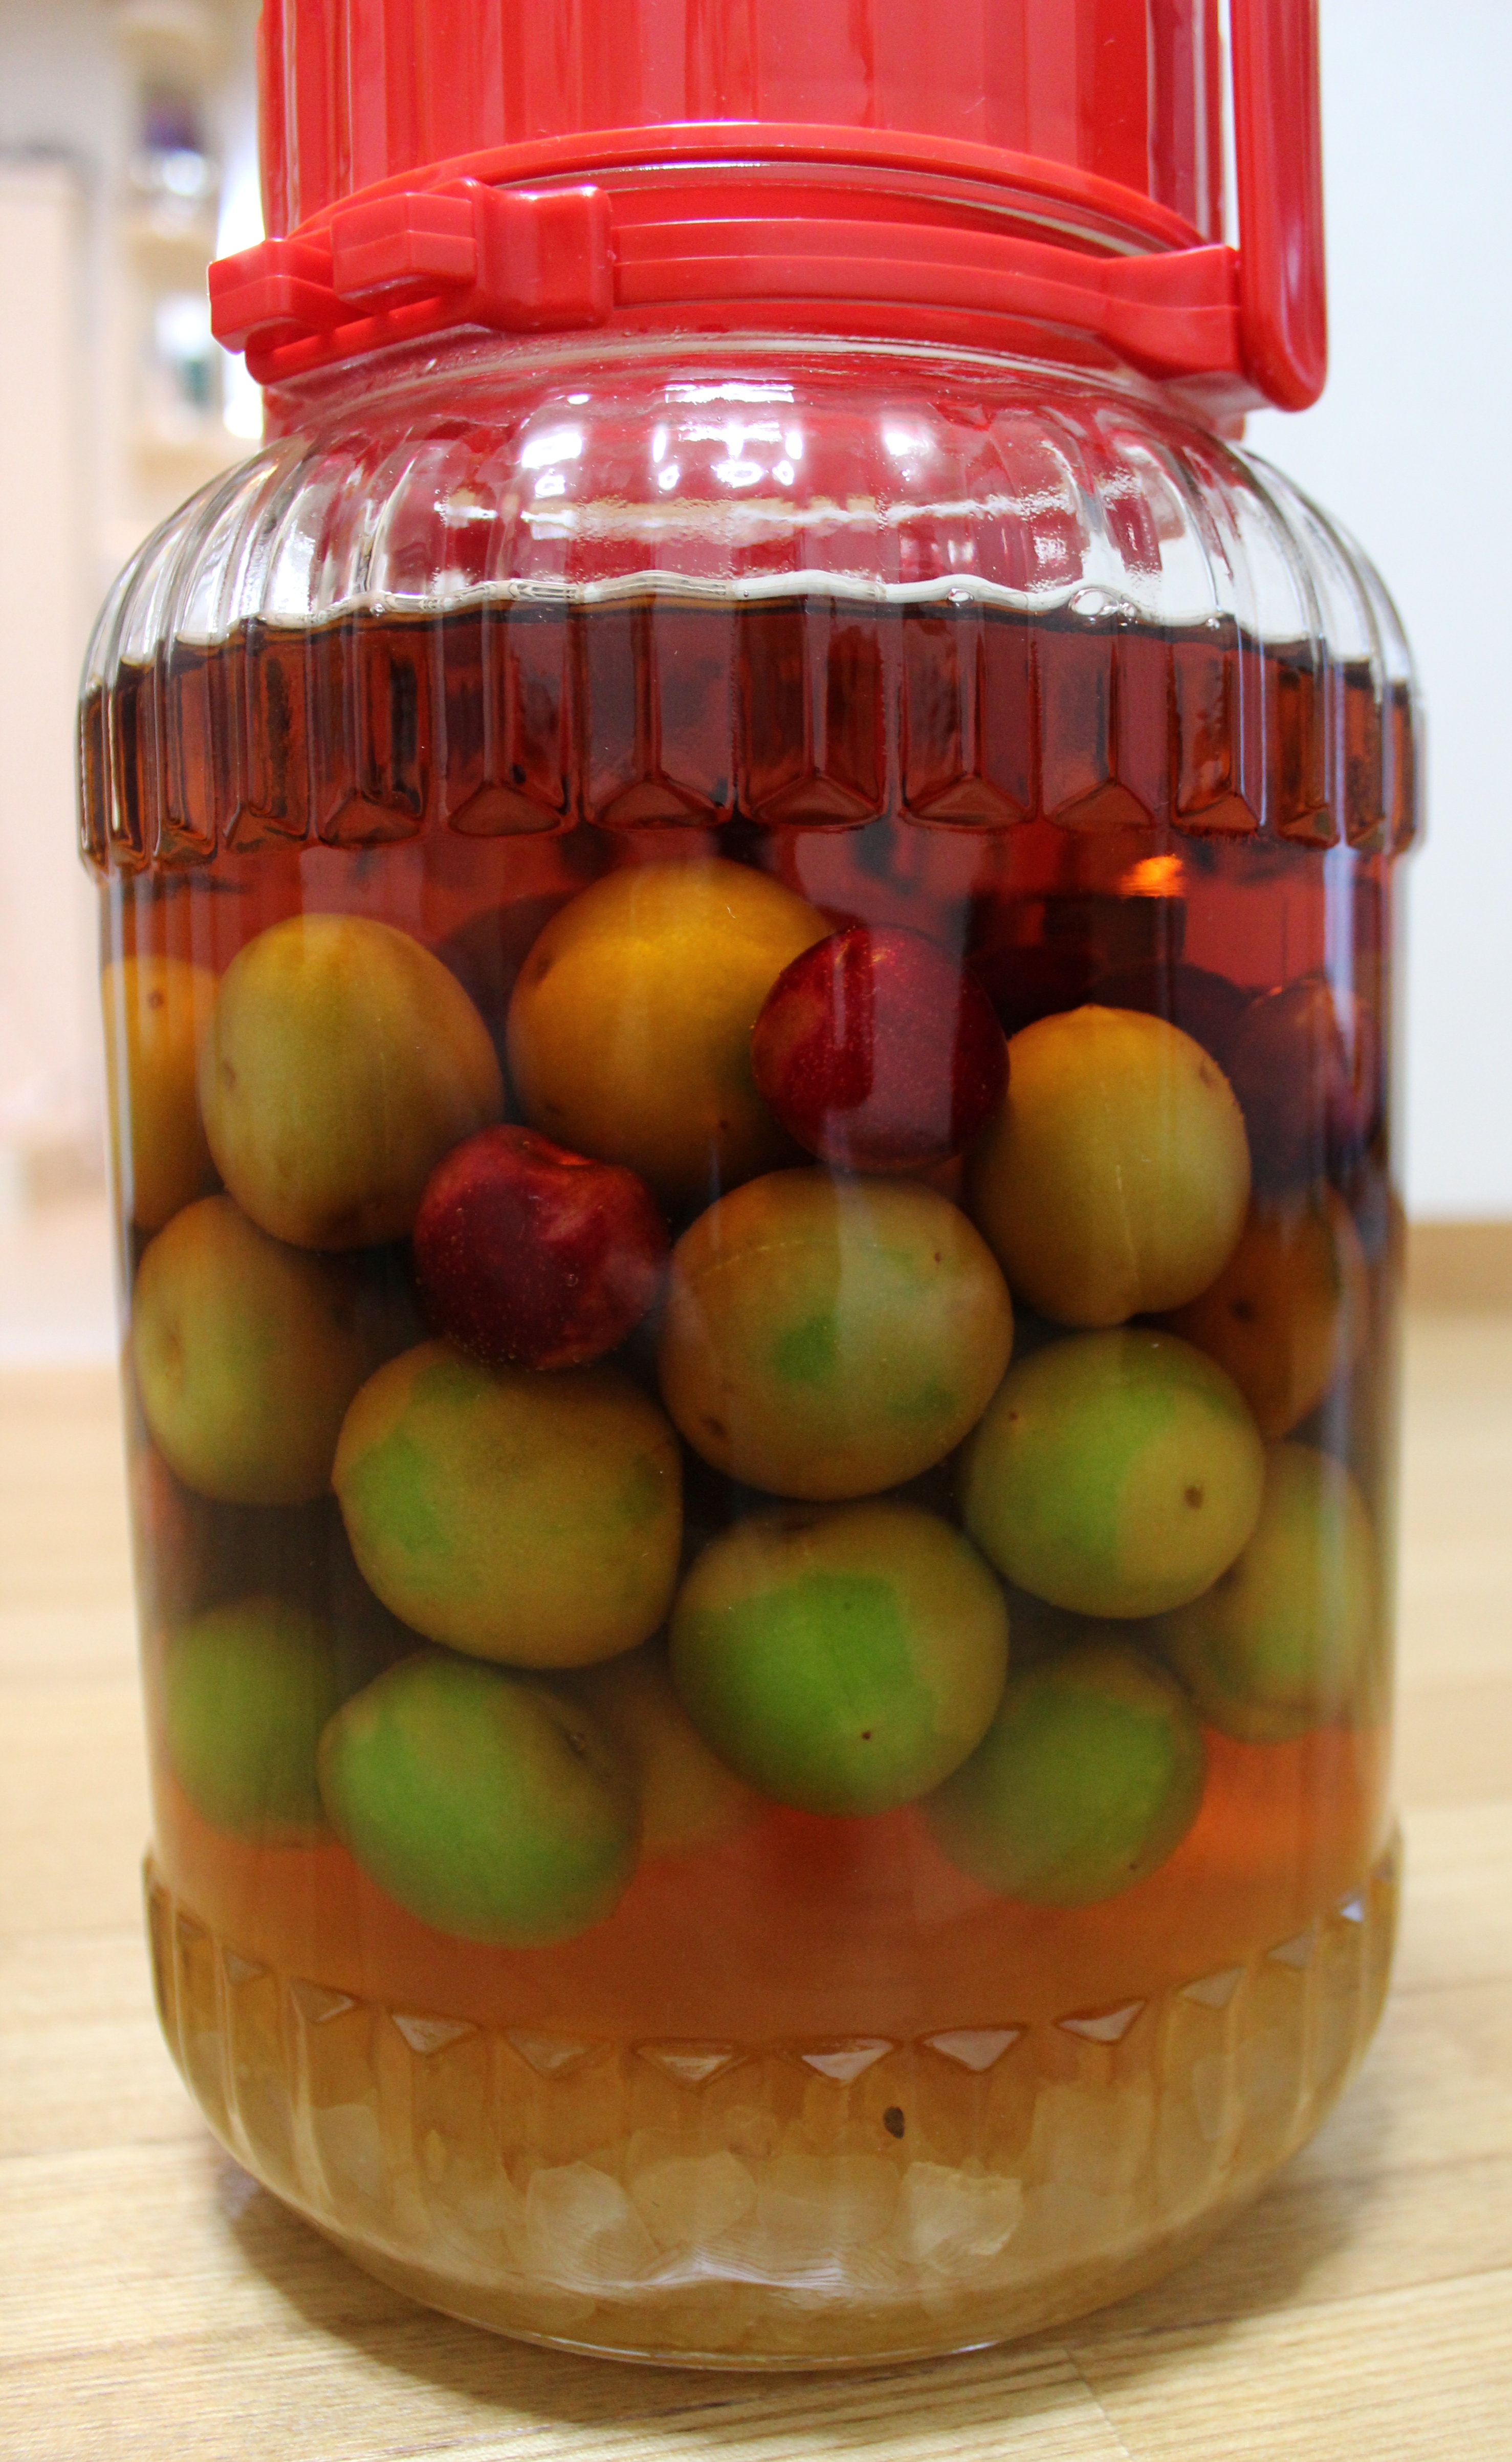 6. Seal up your jar, put it in a cool dark place (think basement) and forget about it for the next 6-12 months. OK well this isn’t entirely true, as for the first couple weeks you’re going to want to check up on it every day or two and give it a shake to make sure all the sugar dissolves and none of the ume are going mouldy. Honestly so far I haven’t had any issues with the ume but about half my cherries have started to shrivel and die so I have been removing them from the batch as this occurs.
7. And now we play the waiting game…… Honestly you can leave this stuff to sit for years if you really want and it’s only going to get better with time but assuming you made it at the start of the season (Early June) it should be good to crack open for Christmas, I know I will be packing some of my batch up to bring to my family when I head back home in December ^____^
So there you have it, not really rocket science but certainly a super fun way to kill a couple hours on a rainy day if you’re bored, also it only cost me about 5000円 to make 2 litres of it so it’s certainly affordable. Give it a go ^^


Where can I get the gglass jar on your picture?
The jars are available in most Japanese grocery or home stores around the beginning of summer. (as it says in the article ^.^) If you are not in Japan, try looking for canning supplies or an ice tea brewing jar. Really anywhere that has kitchen supplies should have a large jar of some sort.
Oh, I really like the idea of adding cherries and brandy! I think I will do that this year.
Also, I was thinking about trying a pineapple shu this year.
Sounds tasty, let us know howit turns out!